Edit, Download, and Sign the SEL 400 Series Configurable Labels Overview Guide
Form
eSign
Add Annotation
Share Form
How do I fill this out?
To fill out this form, start by selecting the appropriate label template from the provided options. Next, enter the necessary information using the designated fields. Finally, print your labels and insert them into your SEL-400 device.
How to fill out the SEL 400 Series Configurable Labels Overview Guide?
1
Select the appropriate label template.
2
Enter the required information into the fields.
3
Print the labels using a laser printer.
4
Remove existing labels from the device with the tool provided.
5
Insert the new labels into the front-panel pockets.
Who needs the SEL 400 Series Configurable Labels Overview Guide?
1
Electrical engineers need this file to customize panel labels based on their projects.
2
Technicians require the labels for proper equipment operation and identification.
3
Safety professionals use it to ensure clear communication of device status.
4
Project managers need it for organizing equipment in compliance with standards.
5
Maintenance teams rely on these labels for effective troubleshooting.
How PrintFriendly Works
At PrintFriendly.com, you can edit, sign, share, and download the SEL 400 Series Configurable Labels Overview Guide along with hundreds of thousands of other documents. Our platform helps you seamlessly edit PDFs and other documents online. You can edit our large library of pre-existing files and upload your own documents. Managing PDFs has never been easier.
Edit your SEL 400 Series Configurable Labels Overview Guide online.
You can edit this PDF on PrintFriendly by accessing our editing tools directly on the platform. Customize your labels by clicking on the fields you wish to change. Once your modifications are complete, you can easily download your personalized labels.
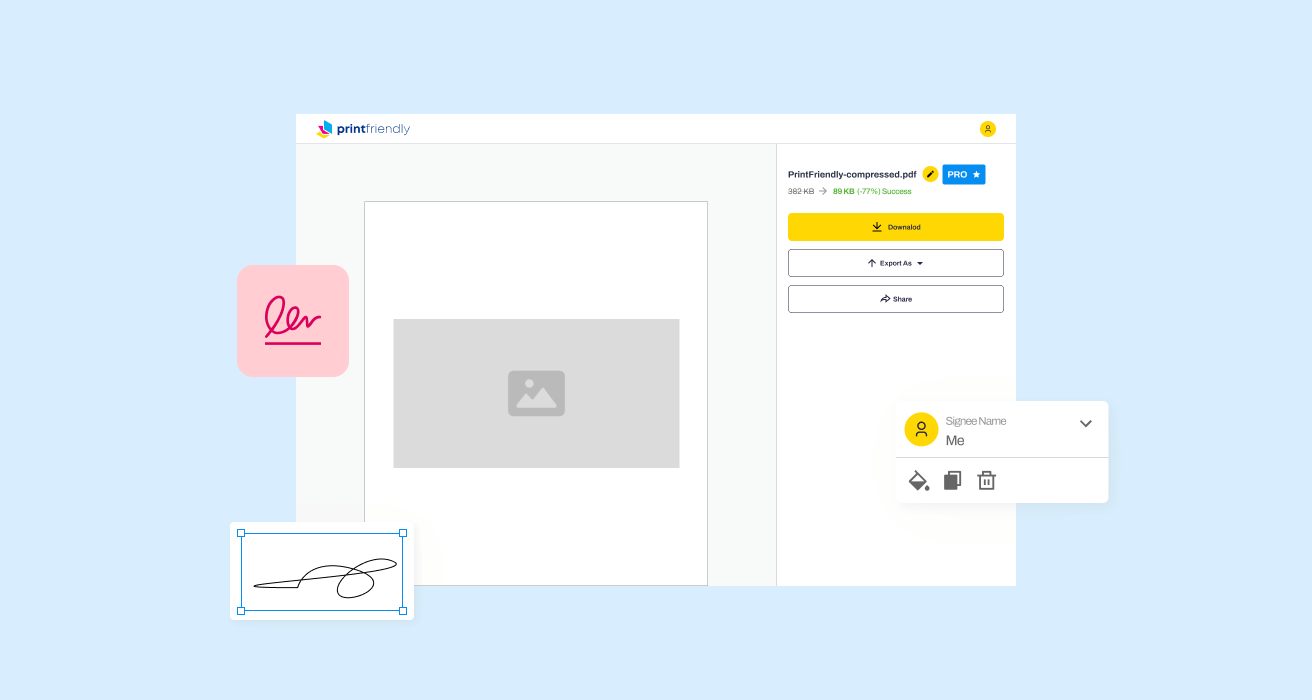
Add your legally-binding signature.
To sign the PDF on PrintFriendly, utilize our simple electronic signature tool. Place your signature in the designated area with just a few clicks. You can then save the signed document easily to your device.
Share your form instantly.
Sharing the PDF on PrintFriendly is straightforward and user-friendly. Once your document is ready, click on the share option to send it via email or social media. You can also copy a direct link to your edited file for easy distribution.
How do I edit the SEL 400 Series Configurable Labels Overview Guide online?
You can edit this PDF on PrintFriendly by accessing our editing tools directly on the platform. Customize your labels by clicking on the fields you wish to change. Once your modifications are complete, you can easily download your personalized labels.
1
Access the PDF on PrintFriendly.
2
Use the editing tools to modify the text and fields.
3
Preview your edits to ensure they meet your requirements.
4
Download the edited PDF to your device.
5
Share the newly edited document with others as needed.

What are the instructions for submitting this form?
Submit this form by downloading the completed PDF and emailing it to your designated technical service center. Ensure to include all necessary fields filled accurately. Alternatively, you may fax it to the provided number for quicker processing.
What are the important dates for this form in 2024 and 2025?
For 2024 and 2025, consider timeline updates for product maintenance and label updates, ensuring you download the latest labels before project implementation. Always check for label revisions to stay compliant with industry standards.

What is the purpose of this form?
The primary purpose of this form is to enhance the usability of the SEL-400 Series through customizable labels. Proper labeling ensures that technicians can identify controls and statuses efficiently, promoting safety and operational effectiveness. Custom labels also allow for greater flexibility in managing diverse projects and technical setups.

Tell me about this form and its components and fields line-by-line.

- 1. Target LEDs: Designate functions for up to 24 target LEDs.
- 2. Pushbuttons: Customize up to 12 pushbutton controls.
- 3. Label Templates: Choose from horizontal or vertical label templates.
What happens if I fail to submit this form?
Failure to submit this form may result in improper labeling of critical equipment.
- Misidentification: Inability to correctly identify equipment functions can lead to operational failures.
- Safety Risks: Poor labeling directly impacts safety protocols and risk management.
- Regulatory Compliance: Non-compliance with labeling standards can result in penalties and fines.
How do I know when to use this form?

- 1. New Installation: Apply labels during the setup of new equipment.
- 2. Existing Equipment Updates: Update labels as functions of existing equipment change.
- 3. Safety Reviews: Revise labels as part of regular safety audits.
Frequently Asked Questions
What is the purpose of the SEL-400 Series Configurable Labels?
This document provides instructions on customizing labels for the SEL-400 Series, enhancing clarity and identification.
How can I create laser-printed labels?
You can use Microsoft Word templates provided in the document to fill out and print your labels.
What should I do if my label alignment is off?
Adjust your printer margins based on test prints until the alignment is correct.
Can I access labels for both horizontal and vertical layouts?
Yes, the kit includes options for both horizontal and vertical configurations.
Who might need this guide?
Engineers, technicians, project managers, and maintenance teams will find this guide useful for customizing labels.
How do I remove old labels?
Use the label removal tool provided to gently lift and remove old labels from the panel.
Is it easy to print labels?
Yes, after editing, print the labels directly from the template file.
Where can I find the label templates?
Label templates are available on the SEL website and the included CD-ROM.
What materials are included in the kit?
The kit includes pre-printed labels and blank labels for customization.
What are the steps to customize a label?
Select a template, fill the required fields, print, and insert into the device.

