Contact Form Widget User Guide
The file provides a comprehensive step-by-step guide for installing and configuring the Contact Form Widget module. It includes instructions for backend settings, customization options, and command lines for different modes. This guide ensures successful deployment and setup of the contact form on your website.
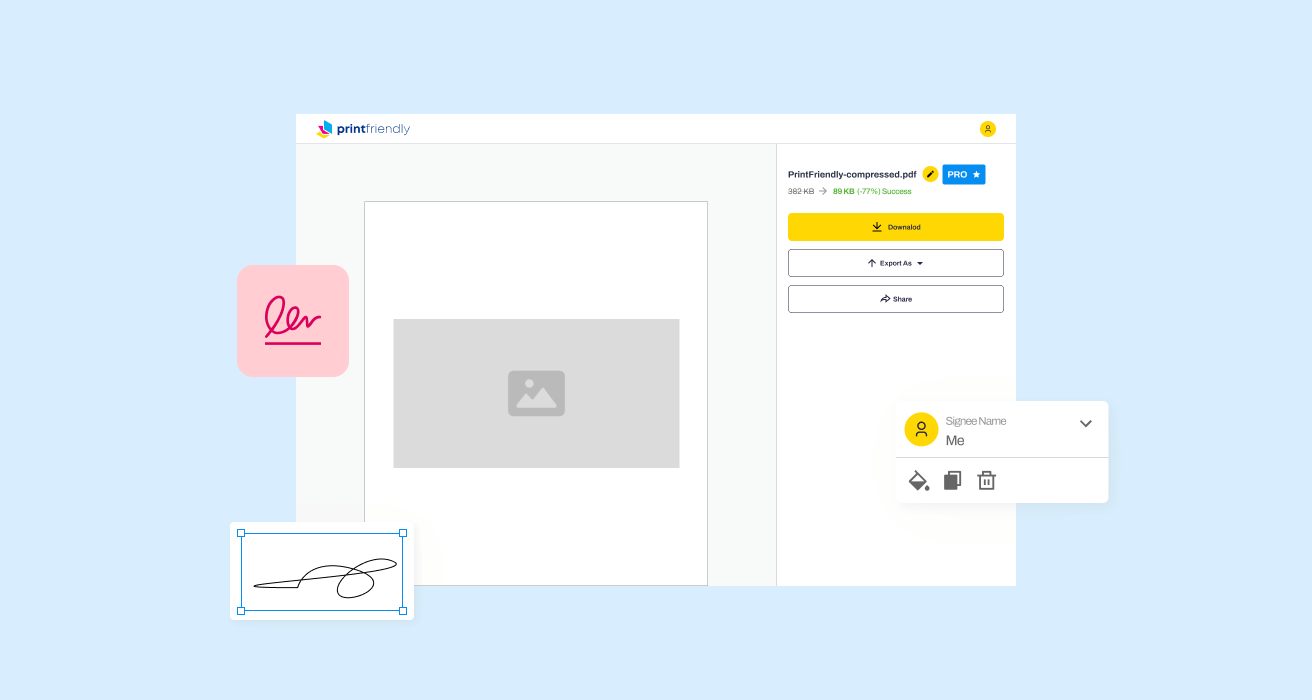
Edit, Download, and Sign the Contact Form Widget User Guide
Form
eSign
Add Annotation
Share Form
How do I fill this out?
To fill out the Contact Form Widget module, follow these simple steps. The guide provides detailed instructions for each step required for installation and customization. You'll find help with setting modes, running commands, and configuring various options.
How to fill out the Contact Form Widget User Guide?
1
Set your instance mode to development and run the command provided.
2
Create the necessary folder structure and extract extension files.
3
Run the setup upgrade command in the console.
4
Recompile and generate browser static-content if required.
5
Switch the mode back to production and verify file and folder permissions.
Who needs the Contact Form Widget User Guide?
1
Website developers needing a clear guide to install the Contact Form Widget.
2
Site administrators wanting to customize their contact form for better user interaction.
3
Businesses aiming to set up a contact form to gather customer inquiries.
4
Technical support teams assisting clients in installing and configuring the widget.
5
E-commerce platforms requiring a reliable contact form for customer support.
How PrintFriendly Works
At PrintFriendly.com, you can edit, sign, share, and download the Contact Form Widget User Guide along with hundreds of thousands of other documents. Our platform helps you seamlessly edit PDFs and other documents online. You can edit our large library of pre-existing files and upload your own documents. Managing PDFs has never been easier.
Edit your Contact Form Widget User Guide online.
Editing this PDF on PrintFriendly is straightforward and user-friendly. Use our editing tools to modify text, add annotations, or highlight important sections. Customize the guide according to your needs for a better user experience.
Add your legally-binding signature.
With PrintFriendly, easily sign the PDF guide using our integrated electronic signature feature. Add your signature or initials to any section of the document. Ensure authenticity and approval with our secure signing options.
Share your form instantly.
Sharing the PDF guide on PrintFriendly is quick and simple. Use our sharing tools to distribute the document via email or direct link. Collaborate with your team by providing easy access to the guide.
How do I edit the Contact Form Widget User Guide online?
Editing this PDF on PrintFriendly is straightforward and user-friendly. Use our editing tools to modify text, add annotations, or highlight important sections. Customize the guide according to your needs for a better user experience.
1
Open the PDF guide on PrintFriendly's PDF editor.
2
Use text editing tools to make any necessary changes.
3
Add annotations or highlight key sections for emphasis.
4
Review and finalize the edits made to the document.
5
Save and download the edited version for your use.

What are the instructions for submitting this form?
Submit this form by logging into your Magento console and running the provided command lines. Follow the guide for mode settings and folder structure creation. Ensure file and folder permissions are correct to avoid any issues. For any queries, contact support via email at support@domain.com.
What is the purpose of this form?
The purpose of this form is to provide a clear and comprehensive guide for installing and configuring the Contact Form Widget module. The instructions ensure that anyone, regardless of technical expertise, can implement the form on their website. By following the guide, users can customize their contact form to better suit their site's needs, ensuring effective communication with their audience.

Tell me about this form and its components and fields line-by-line.

- 1. Email: Enter the recipient email address to forward messages to.
- 2. Header Active: Toggle to activate or deactivate the form header.
- 3. Header Title: Set a title displayed above the contact form.
- 4. Header Text: Add text to display under the title and above the form.
- 5. Header Picture URL: Paste the URL of an image to display left of the title.
- 6. Field Label: Display labels above form fields with or without asterisks for required fields.
- 7. Placeholder Text: Provide example text as hints for form fields like phone number or email format.
- 8. Required Field: Mark fields as required to ensure they are filled by users.
- 9. Send Button Text: Customize the text on the Send button for form submission.
What happens if I fail to submit this form?
Failing to submit this form correctly can result in incomplete setup or malfunctioning of the contact form widget.
- Incomplete Setup: The contact form may not function as intended, leading to communication issues.
- Deploy Mode Errors: Incorrect mode configuration can cause errors during the deployment process.
- Permission Issues: Incorrect file and folder permissions may lead to inaccessible components.
How do I know when to use this form?

- 1. Module Installation: Set up and deploy the contact form feature on your site.
- 2. Customization: Configure the form fields, headers, and texts to match your site's requirements.
- 3. Mode Setting: Switch between developer and production modes during setup.
Frequently Asked Questions
How can I install the Contact Form Widget module?
Follow the step-by-step instructions in the provided guide to install the module.
What are the backend settings required for this module?
Ensure PHP 7.0 and MySQL 5.7 are installed as specified in the guide.
Do I need to recompile after installation?
Recompilation is not needed if you install in developer mode; otherwise, follow the compile commands provided.
How do I customize the form fields?
Refer to the customization options section to modify headers, labels, and placeholders.
Can I switch back to production mode after setup?
Yes, ensure to switch the mode back to production and verify all permissions.
What commands are required for the setup?
The guide includes specific command lines such as 'php bin/magento setup:upgrade'.
Is there a specific folder structure required?
Yes, create the Elfsight/ContactForm folder structure as mentioned in the guide.
How do I add a header picture URL?
Paste the URL of the desired image in the header picture URL field during customization.
What happens if a required field is left blank?
The message cannot be sent if any required field is not filled out.
Can I deactivate the form fields?
Yes, the customization options allow you to activate or deactivate form fields as needed.

